Shabby Blogs Background

Showing posts with label Totes. Show all posts

Monday, March 28, 2011

Pink & Orange Dotted Tote

I'll pick up from where I last left. As you can see, I sewed the lining as well as the main fabric with all the panels. I must say this part was not easy. I was glad to be done with that.

The next step was to attach the main fabric and the lining. I struggled with this step so much that I had to rip it open twice. I almost felt like throwing a fit like my toddler. All I had to do was insert the lining into the main fabric and sew it all around the top with a 3" opening. I did it wrong and instead of a clean finish; it exposed all the raw edges. Finally on my third attempt I was able to get it right.

I cut out two strips of fabric and 25" x 4". Attached an iron-on fusible interfacing to give it some thickness. Folded it and sewed it into straps. I love how the two straps turned out to be of two different colors.


Finally this is how the bag looks like from the inside after the the straps were sewed in. All neat and clean.

A look at the completed bag.

I made two different sized flowers from the leftover fabric and attached them to the front of the bag with a matching button.


The final Look:


Wednesday, March 2, 2011

Second Tote

I am making a second tote. I need a bag for gym as well as the library. I want an over-sized bag, so that I can stuff anything & everything in it. Gone are my  days of carrying a pretty little handbag. Nowadays I need something that resembles a sack. It has to accommodate everything....water bottles, snacks, my kids books, tissue, first aid kit, stuffed toys....you get the picture.

Anyway, this is my main fabric. The one which will be on the outside. Isn't it  really pretty? I love all the orange and pink dots on this fabric. It has quiet a modern look to it. It is 100% lightweight cotton.


 I cut two 18" x 18" pieces for the front and the back of the bag.


Repeated the same steps for the lining. The fabric I used for the lining has a faux suede look with ribbed texture like corduroy. It is a medium weight upholstery fabric, so it is nice and thick. Once I line the bag with this fabric it will hold well.


I wanted the tote to have a boxed look, so I cut up single strips of both the main and lining fabric. They are for the side & bottom panels and measure about 56"L x 5"W.


That is as far as I got. Will update tomorrow....:)

Tuesday, February 22, 2011

Totes Project

Yes, I need totes!  There are all kinds of beautiful and lovely totes available in the stores....but making one is far more gratifying than buying something generic off the shelf.

I found this beautiful table runner at TARGET. I decided to use this as my fabric for the tote. It is thick and sturdy. Once finished, I knew it would hold well.


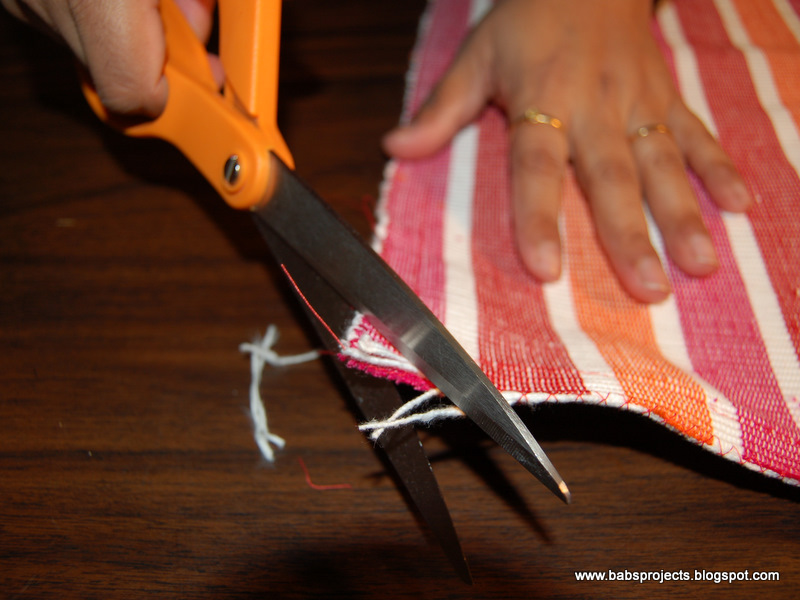
I cut it to size. The length was around 18" and I kept the width around 14". I made adjustments to those measurement as I went along.


With the right sides together, I sewed on the wrong side all around except the top side. That was the opening where I was going to sew the straps later.


Clipped the corners.


This next step is important. I pinched the corner and shaped the the fabric like a  pyramid.


Opened the edges and laid them flat. Measured and marked it about 1 1/2" from the top.


Sewed it on the marking. Cut the excess fabric. Repeated it on the other side too.


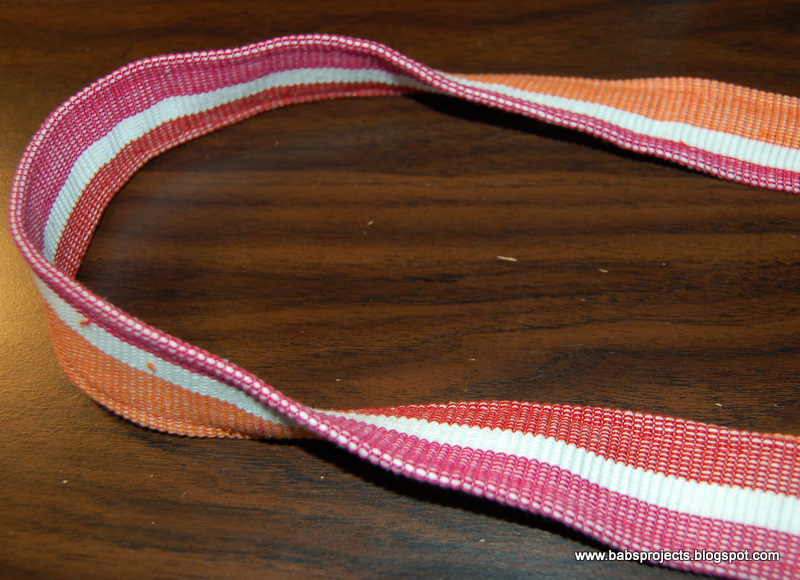
I cut two strips of fabric measuring 20" x 4". Folded them and sewed them into straps.


Attached both the straps to the bag on the inside.


Made a pom pom flower from some leftover wool. I attached it to the front of the bag with a button to accessorize it.


This is how it looks all finished and ready for my older one to use as and when she needs it.


Thursday, February 17, 2011